Culture Care
Caring for a sourdough starter
I usually feed every 24hrs (not super strict, sometimes 36 etc) when keeping the starter in maintenance mode. They'll be able to last longer per feeding depending on the temp of your space and how much flour/food you gave them last feeding. The best way to know how they're doing is to smell and look.. hungry starter will be sour/vinegary and usually with clear liquid on the surface.
You can put your starter in the fridge to store it longer term between baking. When in the fridge, I've fed my starter anywhere from every week to every month or more. Just pull it out and resume 24 hour feedings a couple days before you want to bake to bring it back up to peak activity.
To feed:
- Discard 80% of the spent starter, so there’s just some leftovers hanging around. It’s important to discard a good amount, otherwise you’ll be passing on a stronger sour flavor with subsequent feedings and into the loaf.. something to experiment with though if you like a punchier bread.
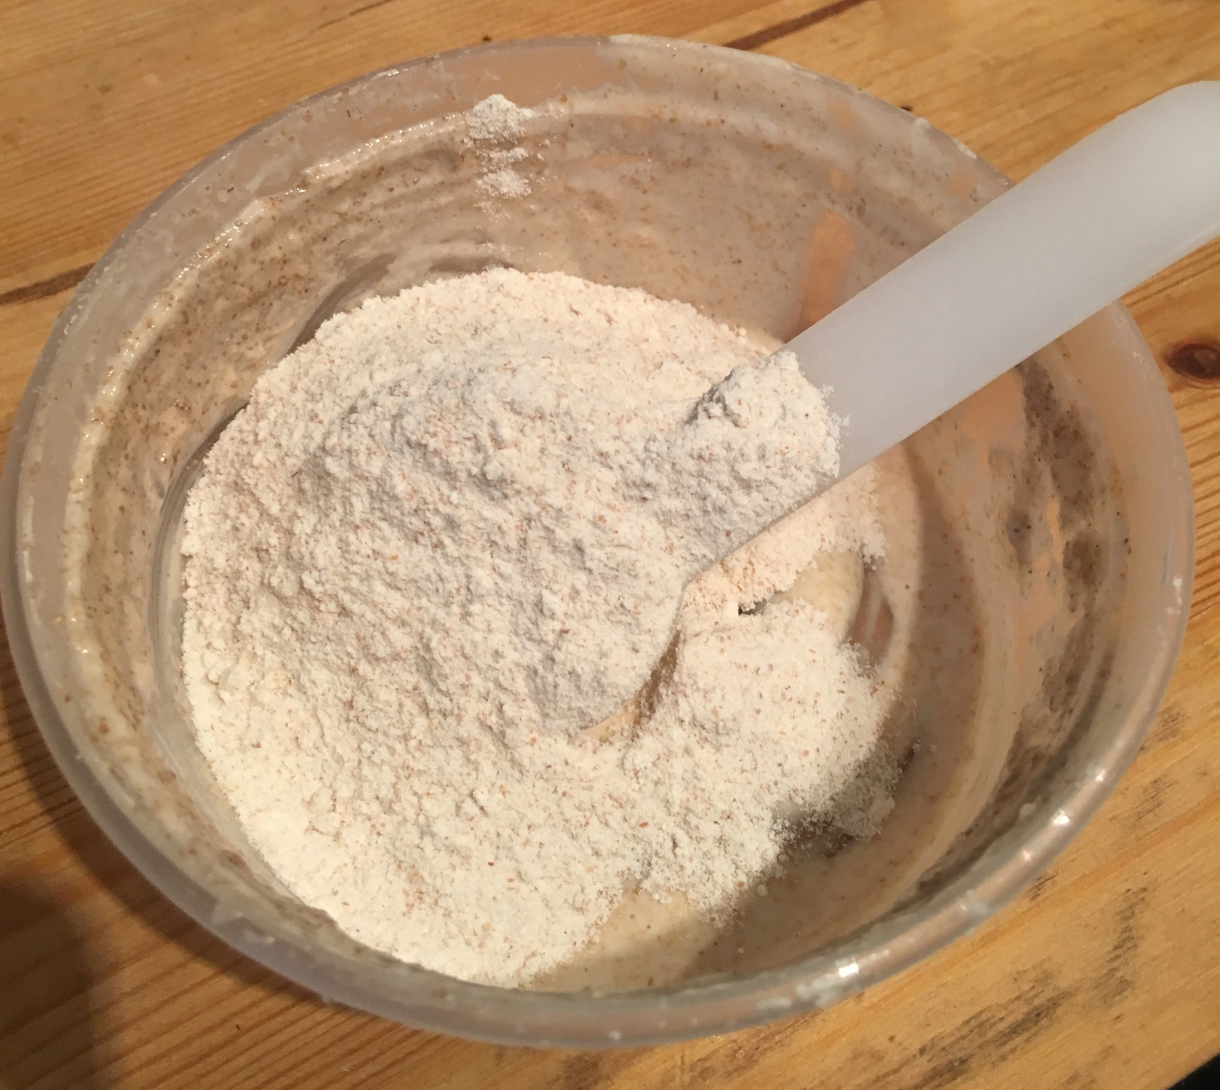
- I feed mine with a 50/50 mix of white and whole wheat flour. Usually just give them a hearty scoop or two.. around 2-3 tbsp
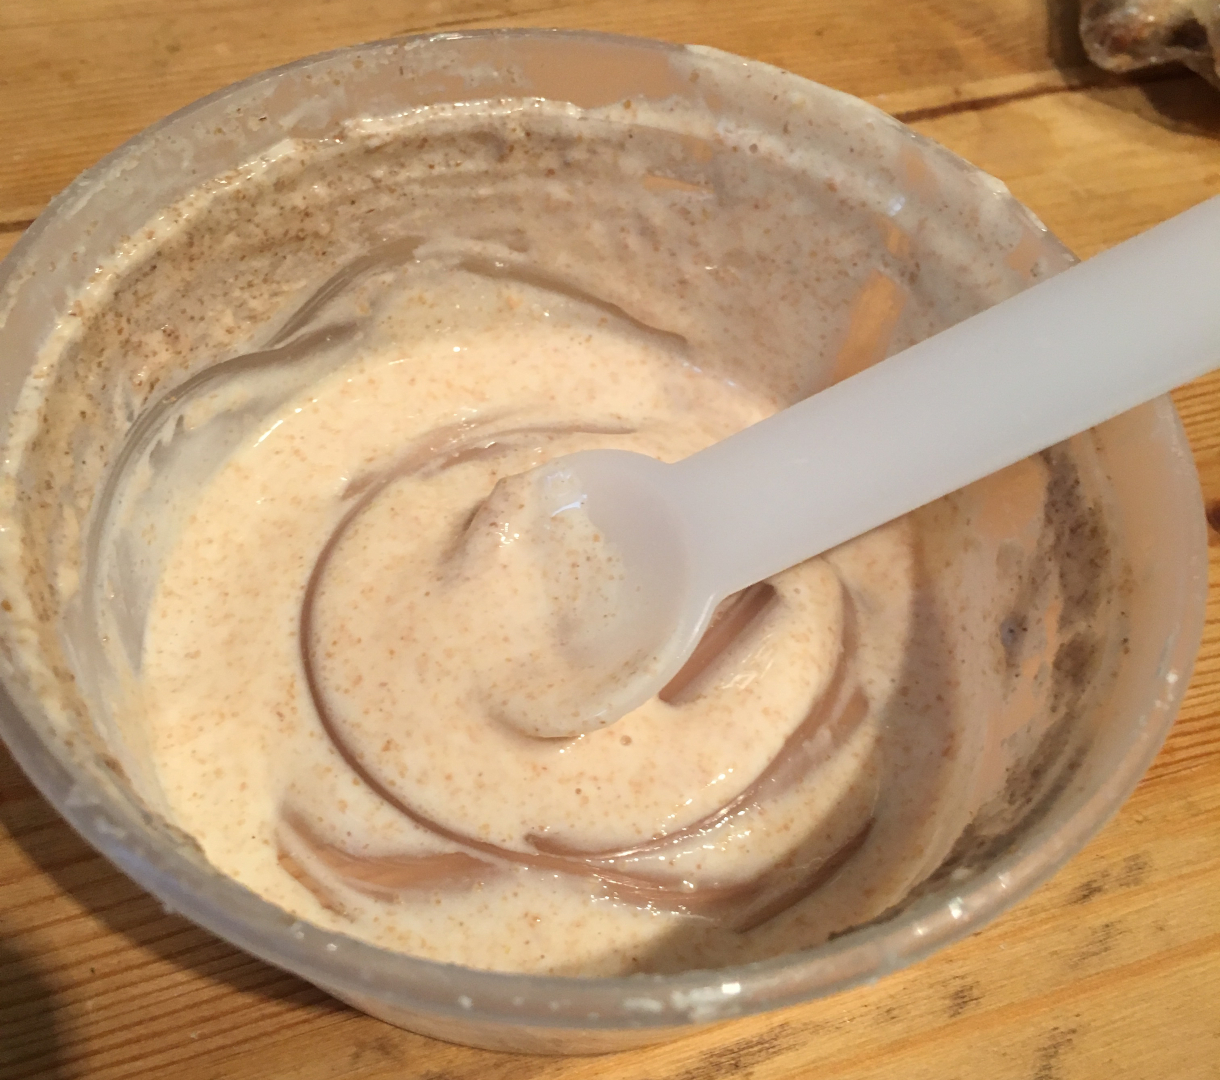
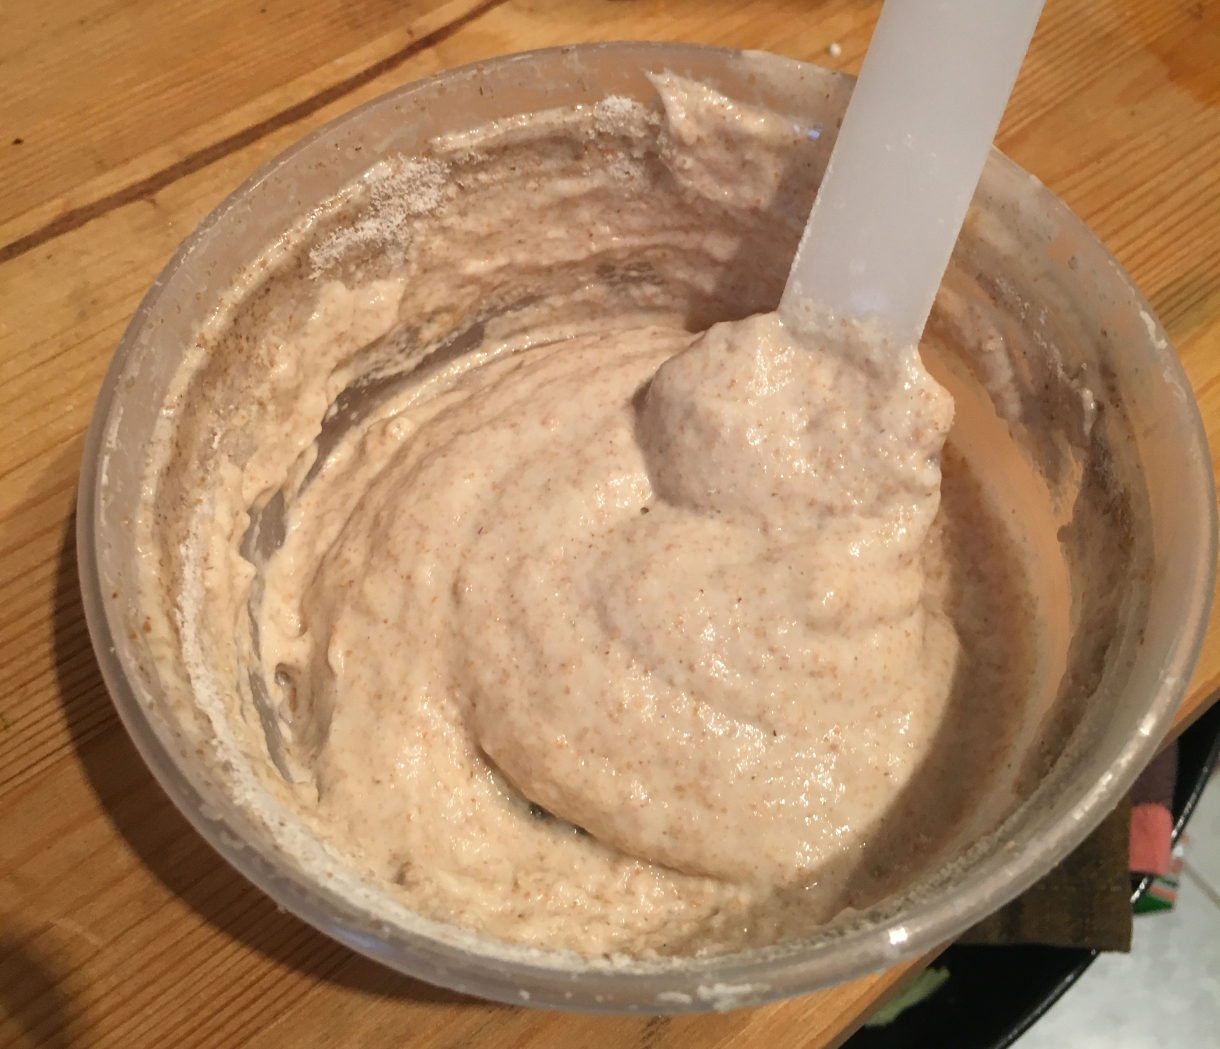
- You then add the water. It’s important to use either filtered water or water that you’ve left to sit in a clean vessel with the lid ajar to allow the chlorine to evaporate. I used to do that second method more, specially when building the leaven, since I keep my britta water in the fridge and that cold water will stunt the activity for a bit. But for maintenance feedings I just use filtered fridge water. You basically want to form a thick-ish paste, it’s not super crucial but you don’t want it too wet or too dry
- Done : )
Sourdough bread recipe
This is my goto loaf! It's adapted from the Tartine country loaf recipe. It has a bit of rye flour for texture and flavor. You can use whole wheat flour, or forgo it entirely if you only have bread flour. Note: you can click on ingredients or steps to cross them out if you want to mark your progress :)
Ingredients
- Bread flour
- 450g
- Rye Flour (or whole wheat)
- 50g
- Water @ 80°
- 350g
- Salt
- 10g
- Water to mix w/ salt
- 25g
leaven
- 50/50 White and Wheat mix
- 50g
- Water @ 80°
- 50g
Supplies
- large mixing bowl
- 2
- Cloth or clean dish towel
- bench knife or large putty knife
- Razor blade, sharp knife, or lame
- Scale
- Rice flour, potato starch, or in a pinch corn starch
- Dutch oven with oven safe lid
- Cornmeal (optional)
- Thick oven mitts
Steps:
-
The first step to baking is to build the leaven around ~8hrs before you want to bake.
A leaven is basically a bigger version of your starter that you assemble to seed the bread with active yeast when you're ready to start forming your loaf : )
To make the leaven assemble the above ingredients in the leaven grid with the proportions above and then add a dollop of starter, mix together and set aside to get bubbly. - After ~8hrs or when the leaven is bubbly you're ready to start mixing the loaf! You can double check the leaven is ready by preforming the float test: take a small amount of leaven out and put it in a glass of water, if it floats, it's sufficiently bubbly and ready to bake with : )
- To begin, mix the measured out bread flour (450g) and rye or wheat flour (50g) together in a big bowl.
- Heat filtered or shelf dechlorinated water to 80°. If you don't have a thermometer it should feel nearly body temp when touched. The temp isn't super critical, but could effect the timing slightly. Make sure it isn't warm/hot to touch, that would mean it's over 80° and might kill the yeast!
- Measure out with a scale 350g of the heated water into a large mixing bowl.
- Add the leaven to the water. It should be mostly floating and not sink to the bottom, as checked by the float test.
- Gently break up the leaven some by pinching it between your fingers like a claw machine grasping at an unobtainable stuffed animal.
- Pour the measured and mixed flours into the bowl containing the water and leaven mix. Mix this slurry together. I like to pretend my hand is like a dough hook by forming a sort of paddle with my fingers all together and swirl in a circular motion.
- Mix until well incorporated. The loaf should be shaggy and sticky. Let this rest for 🕐 45 minutes. This step is called the autolyse which provides time for the flours to hydrate, gluten bonds to form, and flour enzymes to begin breaking down proteins.
- Now that our dough is rested, it's time to add the 25g water and 10g salt mixture to the loaf and again incorporate. I like to fold it over itself and press down with my knuckles forming a fist repeatedly. The loaf should be feeling smoother and less sticky now. Form it into a smooth ball and move it to a clean bowl to rest.
-
We've now entered the bulk fermentation phase! This is where a lot of the flavor and gluten structure is formed.
We'll be using the fold and rest technique. This spreads out the gluten forming period over time instead of maybe a more familiar bread technique which is the kneading step to form gluten. Instead we'll fold our dough
over itself progressively over a couple hours. This again allows the natural fermentation to progress and build flavor.
Set a timer for 🕐 30 minutes. -
After 30 minutes wet your hand with some water and scoop down along the side of the bowl and grab a section of the dough.
Pull the section of dough up and out of the bowl and stretch it out. Then fold it over itself and repeat with the 3 other sides, rotating the bowl. Like this.
Our first fold is complete. Set a timer for 🕐 30 minutes again. -
Complete another series of folds like the previous step, rotating the bowl to fold each side.
Set a timer for 🕐 30 minutes again. -
Repeat the above folding step two more times, completing 4 folds over 2 hours in 30 minute intervals.
After the 4th fold, set your timer to 🕐 1 hour. -
After the hour is up, preform a fold like before, but now being a bit more gentle
with the dough so as not to knock out the air that should begin building up. The dough should feel lighter and springier.
Set your timer to 🕐 1 hour. -
We've now been bulk fermenting for 4 hours.
This is where some of the feel and experience will come in play. Depending on the conditions of your room (temperature, humidity, etc)
your bread might be ready to progress now or need another hour of bulk.
In my experience this time is usually enough and your bread should be ready. It should feel airy. If your bowl is clear you should be able to see lots of bubbles forming on the sides.
Preform a gentle fold like we've done in previous steps, but on the last turn after folding it over, gently tip the bowl over and guide out the dough onto a clean counter. -
We're going to pre-shape our dough. Wet your bench knife and then slide it under the
loaf, pushing it gently to encourage the loaf to tighten up and form a ball like this.
Set a timer for 🕐 30 minutes. This is called the bench rest. -
After the 30 minutes it's time to shape our loaf! This is also a point where you can determine whether your dough is ready yet. If you bend down and look at it from the side, you should see
taut edges or at least a slight curve of the edge forming from the bottom of the loaf leading up. If it has "pancaked" or if the edges are perpendicular with the counter, this is a sign your loaf needs more time. Preform another pre-shape and let rest for another 🕐 30 minutes.
Before shaping, prepare another bowl with a towel inside it or proofing basket. Sprinkle a generous amount of rice flour, potato starch, corn starch or if you don't have any of those things, flour. Knock it around a bit to integrate it with the cloth. This will prevent your loaf from sticking after the final proof.
To shape: dust a surface lightly with flour. Take some flour in your hand and flick it so as to create a thin layer of flour dust on the surface. Less flour on the counter is better than more, so use restraint. Coat your hands and the bench knife with flour. Scoop the loaf up from where it's been resting and gently plop it upside down onto the dusted surface. Fold up the edges like an envelope. Pull the side closest to you towards your body and then fold over. Then grab the two sides, draw them out some and then fold them over. Then grab the top, extend slightly, and then fold again toward the center. After this fold, grab the part closest to you and gently roll the whole thing over so that the folds are now beneath the loaf and the round taut surface is facing up.
This example shows the envelope technique. He preforms some extra steps, but you can start with the four main folds and then roll it over. -
The dough surface should be taut and relatively round. You can further shape the dough by taking two floured hands, forming a wall, and gently pulling the dough
towards you, tightening the surface tension. Do this and rotate to maintain the round form.
Once shaped, slide the bench knife below the loaf, scoop it up and place it upside down (folds facing up, smooth side down) in the prepared bowl or proofing basket. -
Now we're starting the final proof! This stage allows the yeast to rebuild air bubbles ahead of baking.
There are two ways to handle the final proof:
- Place the dough to rest on the counter for two to three hours, depending on room temperature. The best way to determine when the dough is ready to bake is to lightly press a finger into the dough. If it springs back, it needs more time. If the indentation lasts or slowly springs back, it's likely ready. Kind of like a memory foam mattress.. this method isn't foolproof.
- Wrap the dough in a bag or container and place in the fridge, retarding it over night for 8-14 hours. I like this method because it provides some flexibility for when you bake and allows more flavor to develop. I often plan my process so that I'll end at the proofing step towards the end of the night, place the loaf in the fridge and bake in the morning~ : )
- To prepare to bake, preheat the oven to 500° with the dutch oven inside at least 30 minutes before you plan to bake. If you're proofing on the counter, timing can be a bit tricky.
- Once your loaf is proofed and your oven preheated, pull out the dutch oven. Sprinkle a bit of cornflour on the bottom of the dutch oven (if you have any) and gently turn out the loaf by tipping it upside down into the dutch oven. If you're using a standard high wall dutch oven, this can take some practice to not burn yourself! I like to use the Lodge double Dutch oven for this reason, using the lid as the base and putting the large bottom on top as a lid. Took quite a few burns to give up and go this route ; )
- The last step before placing the lid on and moving to the oven is to score the dough. This allows for the bread to rise evenly and relieve pressure from the loaf expanding. It's honestly the most nerve racking part! Take a razor blade, sharp knife, or lame if you've invested in one, and make a quick decisive slice across the top of the loaf. You can experiment with patterns in the future, but a 4-6" long 1/4 - 1/2" deep slice should do the trick. The key is to be confident, go quick, and don't overthink it... lol.
-
Now that you totally didn't panic and mess up your score, it's time to put the lid on and place in the oven! The reason we use
a dutch oven with a lid is because for the first part of the bake, the dough needs to be in a moist environment to allow the loaf to rise before the sides cook and set.
Commercial ovens inject steam, but we can't do that at home, so a dutch oven is next best thing.
Drop the oven temp to 450° and set a timer for 🕐 20 minutes. - After the 20 minutes are up, remove the lid and set a timer for 🕐 10 minutes. This is the best part.. the big reveal to see how your score turned out and how much oven spring you got.
- After the 10 minutes are up, rotate the dutch oven 180° to ensure an even cook, and set another timer for 🕐 10 minutes
- At this point your loaf should be close to done! Oven temps can vary a bit so you might need somewhere between 🕐 5 - 10 minutes more. The classic way to determine whether a loaf is done is to tip it out and whack the bottom with your thumb like you would strike a drum. It should make a relatively hollow thud if it's done.
- Tip the loaf onto a wire rack if you have one and let cool at least 10 minutes or preferably an hour or two (if you can wait that long).
notes:
- Be mindful of drafts in your workspace. They can dry out the loaf and cause a skin to form. If there is a draft you can't control, drape a floured towel over your loaf to prevent it from drying out.
- Make sure your dutch oven's lid is rated for 500°
- Your first couple loaves will inevitably be a bit ugly or not meet expectations, but it should still taste great. Mine certainly weren't beautiful. You'll get better quick with a few under your belt!
- Generally speaking handling a wetter dough like this takes quick confident moves. It comes with practice!
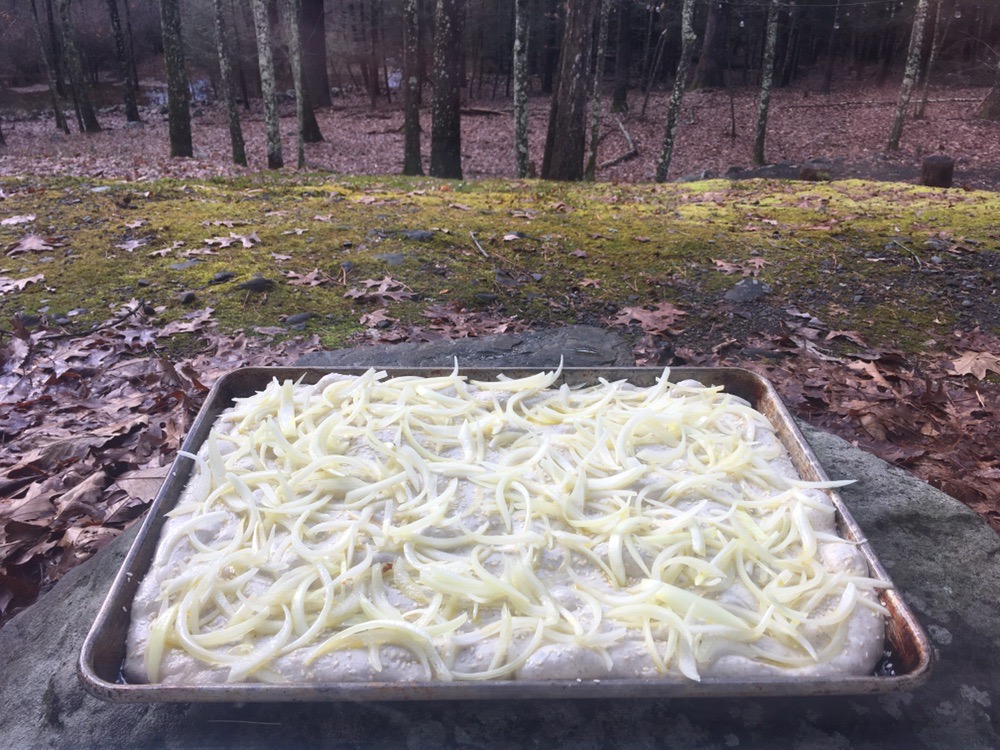
Onion & sesame focaccia recipe
I've become fonder of making this focaccia than the bread loaf recipe. It's a bit less stressful to bake, more versatile, and is never unwelcome as a gift : )
It's partly derived from a Tartine recipe while also taking some techniques from Salt Fat Acid Heat.
The amount of dough you'll need to fill your pan will vary. I use a half size baking sheet (18" x 13") and make 1.5x the amount of dough from the bread recipe. The quantities for that are below, but gauge your pan size and mix accordingly.
Ingredients (1.5x standard loaf)
- Bread flour
- 675g
- Rye Flour (or whole wheat)
- 75g
- Water @ 80°
- 525g
- Salt
- 15g
- Water to mix w/ salt
- 37.5g
- Onions, leeks or other toppings
- 1 or 2
- Lightly toasted sesame seeds
- 2 - 3 tbsp
leaven
- 50/50 White and Wheat mix
- 75g
- Water @ 80°
- 75g
Supplies
- large mixing bowl
- 2
- Cloth or clean dish towel
- bench knife or large putty knife
- Scale
- Baking Sheet
- Thick oven mitts
Steps:
- To begin, we'll make a dough following steps 1 – 20 of the bread receipe.
- Slice onion(s). Toss in oil and salt and set aside.
- Once the dough is properly proofed we're ready to assemble. If you proofed your dough in the fridge, take it out and let it warm up some before beginning.
- Generously oil a sheet pan with olive oil and gently turn out the dough into the middle of the pan.
- With oiled hands, tenderly stretch the dough to fill the pan. I like to slide my hands underneath and lift up to stretch it out. Don't force it, if it's overly elastic and returning to the center, let it rest some before resuming stretching.
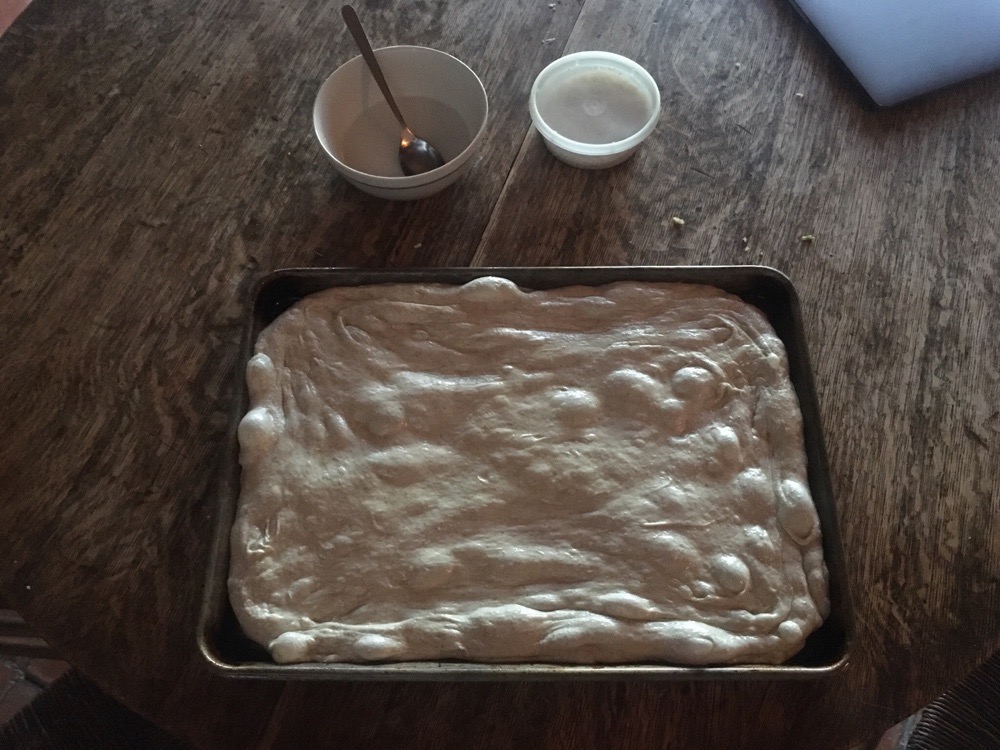
- Once the dough is evenly spread across the pan, mix a bowl of chlorine free water and salt (to saltiness level of the ocean). Spreading your fingers apart, make a series of indentations in rows along the focaccia.
- Using a spoon, ladle a small amount of the salt brine into each hole to fill them up. Let the focaccia and little tide pools rest for 🕐 45 minutes. : )
- While resting, preheat the oven to 500°
- Once rested, distribute the onions over the focaccia and sprinkle the toasted sesame seeds over.
- Place in the oven and bake at 500°. Set a timer for 🕐 15 minutes.
- While waiting, season a small amount of olive oil with garlic in a sauce pan on low heat for brushing once the bake is complete.
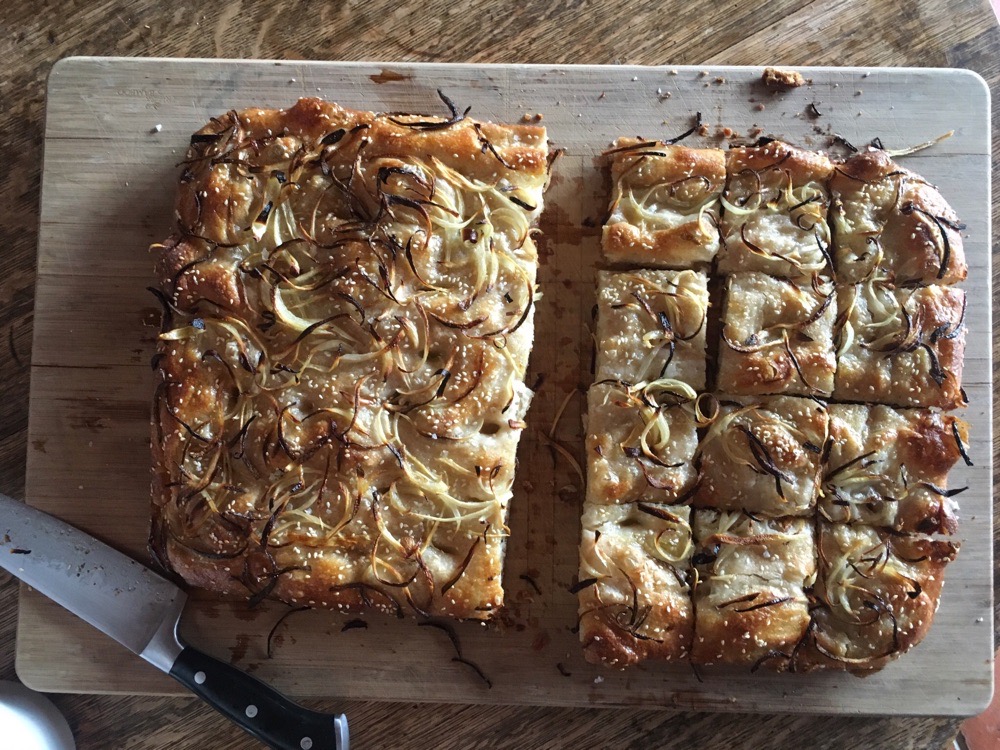
- After 🕐 15 minutes, rotate the focaccia 180° to ensure even cooking, and continue baking for 🕐 20 minutes or until golden brown.
- Brush the edges of the focaccia with seasoned (or plain) olive oil and slide onto a wire rack to cool.
- ~ fin ~
Resources & Credits
- https://www.theperfectloaf.com - nice overall site for tips, recipes, and resource guides
- http://www.thefreshloaf.com - nice forum for bread support and questions
- http://www.breadwerx.com - I learned most my dough handling & shaping techniques from this person!
- I received the starter I use from Carson Fisk-Vittori 4 years ago. Since then I've given it out and also happened to lose mine. Luckily others still had it going and I was able to recover. Pass along and care for cultures, and they'll come back to you~ : )